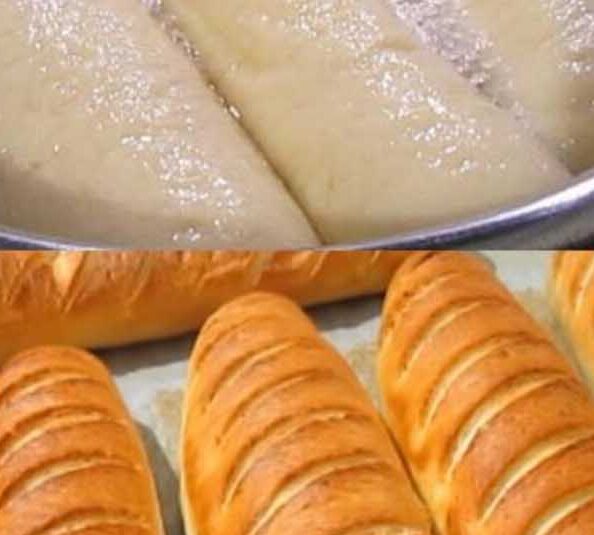
Ingredients :
- 5 cups flour: Provides the base for your dough. Use all-purpose flour for the best texture.
- 2 cups warm milk: Activates the yeast and helps create a soft, tender dough.
- 1 cup of oil: Adds moisture and richness to the dough, making it soft and flavorful.
- 1 tablespoon dry yeast: The leavening agent that helps the bread rise and gives it a light texture.
- 1 tablespoon of granulated sugar: Feeds the yeast and adds a slight sweetness to the bread.
- 1 teaspoon salt: Enhances the flavor of the bread and balances the sweetness.
For Boiling the Dough:
- 2.5 – 3 liters of water: Enough to submerge the dough completely during the boiling process.
- 1 teaspoon salt: Adds flavor to the boiling water, which helps season the bread as it cooks.
Instructions :
Prepare the Dough:
- In a large mixing bowl, combine the warm milk, dry yeast, and sugar. Stir gently and let it sit for about 5-10 minutes until the mixture becomes frothy. This indicates that the yeast is active.
- Gradually add the flour, salt, and oil to the yeast mixture. Mix until a sticky dough forms
- Turn the dough out onto a floured surface and knead for about 10 minutes, adding more flour if necessary, until the dough becomes smooth and elastic.
Let the Dough Rise:
- Place the kneaded dough back into the mixing bowl, cover it with a clean kitchen towel or plastic wrap, and let it rise in a warm place for about 1-2 hours, or until it has doubled in size.
Shape the Dough:
- Once the dough has risen, punch it down to release any air bubbles. Divide the dough into equal portions, depending on the size of the bread you want to make.
- Shape each portion into a round or oval loaf.
Boil the Dough:
- Bring 2.5 – 3 liters of water to a rolling boil in a large pot. Add the teaspoon of salt to the boiling water.
- Carefully place the shaped dough portions into the boiling water, a few at a time, making sure not to overcrowd the pot.
- Boil each portion for about 1-2 minutes on each side, until they puff up slightly and become firm.
Finish the Bread:
- Remove the boiled dough from the water using a slotted spoon and place it on a baking sheet lined with parchment paper or a greased surface.
- Let the boiled dough cool slightly before slicing or serving.
Serve and Enjoy:
- This bread is best enjoyed warm, fresh from the pot. Serve it with butter, jam, or as a base for sandwiches. The unique texture and flavor will make this a favorite in your household.
Cooking Tips:
- Keep the Dough Soft: The key to a good texture is keeping the dough slightly sticky before kneading. Don’t add too much flour, or the bread may become dense.
- Flavor Variations: Add herbs, cheese, or garlic to the dough for different flavors. You can also brush the tops with melted butter and sprinkle with sesame seeds or poppy seeds before boiling.
- Storage: Store any leftover bread in an airtight container at room temperature for up to 3 days. This bread also freezes well; just wrap it tightly in plastic wrap and place it in a freezer bag. Thaw at room temperature before serving.
Nutritional Facts (per serving, based on 10 servings):
- Calories: Approximately 250
- Protein: 5g
- Fat: 10g
- Carbohydrates: 35g
- Fiber: 2g
- Sugar: 1g
- Possible Questions:
Can I use whole wheat flour instead of all-purpose flour?
- Yes, you can substitute whole wheat flour, but the bread may be denser. You might want to mix it with some all-purpose flour for a lighter texture.
Can I bake the bread instead of boiling it?
- The boiling step is crucial for the unique texture of this bread. Baking alone will give you a different result, more like a traditional loaf.
What can I serve with this bread?
- This bread is versatile and can be served with soups, salads, or as a sandwich base. It’s also delicious with just a pat of butter or a drizzle of honey.
How do I know when the dough is ready to boil?
- The dough should have doubled in size and be light and airy to the touch. If it doesn’t bounce back when pressed, it’s ready.
Conclusion:
This no-oven bread recipe is a game-changer for anyone looking to make homemade bread quickly and easily. The boiling method gives the bread a unique, chewy texture that’s both satisfying and delicious. Perfect for breakfast, lunch, or dinner, this bread is sure to become a household favorite. Give it a try, and you’ll never go back to store-bought bread again!
